
Finished size: 23 1/2" x 23 1/2"
Instagram: #minicharmfunpattern
FABRIC REQUIREMENTS:
1 mini charm (MC) pack (36 - 2 1/2" x 2 1/2" squares)
Background - 1/2 yard
Batting - 25" x 25" piece minimum
Backing - 25" x 25" piece minimum
Binding - 1/4 yd
CUTTING INSTRUCTIONS:
Step 1:
Sashing/borders - Cut (8) strips of background fabric 2" x WOF (width of fabric).
Subcut (6) of these strips into (7) 20" pieces for (5) horizontal sashing pieces and (2) side borders and (2) 23 1/2" pieces for top and bottom borders.**
Step 2:
Binding - Cut (3) strips 2 1/4" x WOF
**TIP: For accuracy's sake, wait and measure pieced mini charm rows before subcutting the (6) strips for sashing and border pieces. Everyone's seam allowance varies a tad and this can affect exact sashing/border lengths required.
PIECING INSTRUCTIONS:
Step 1:
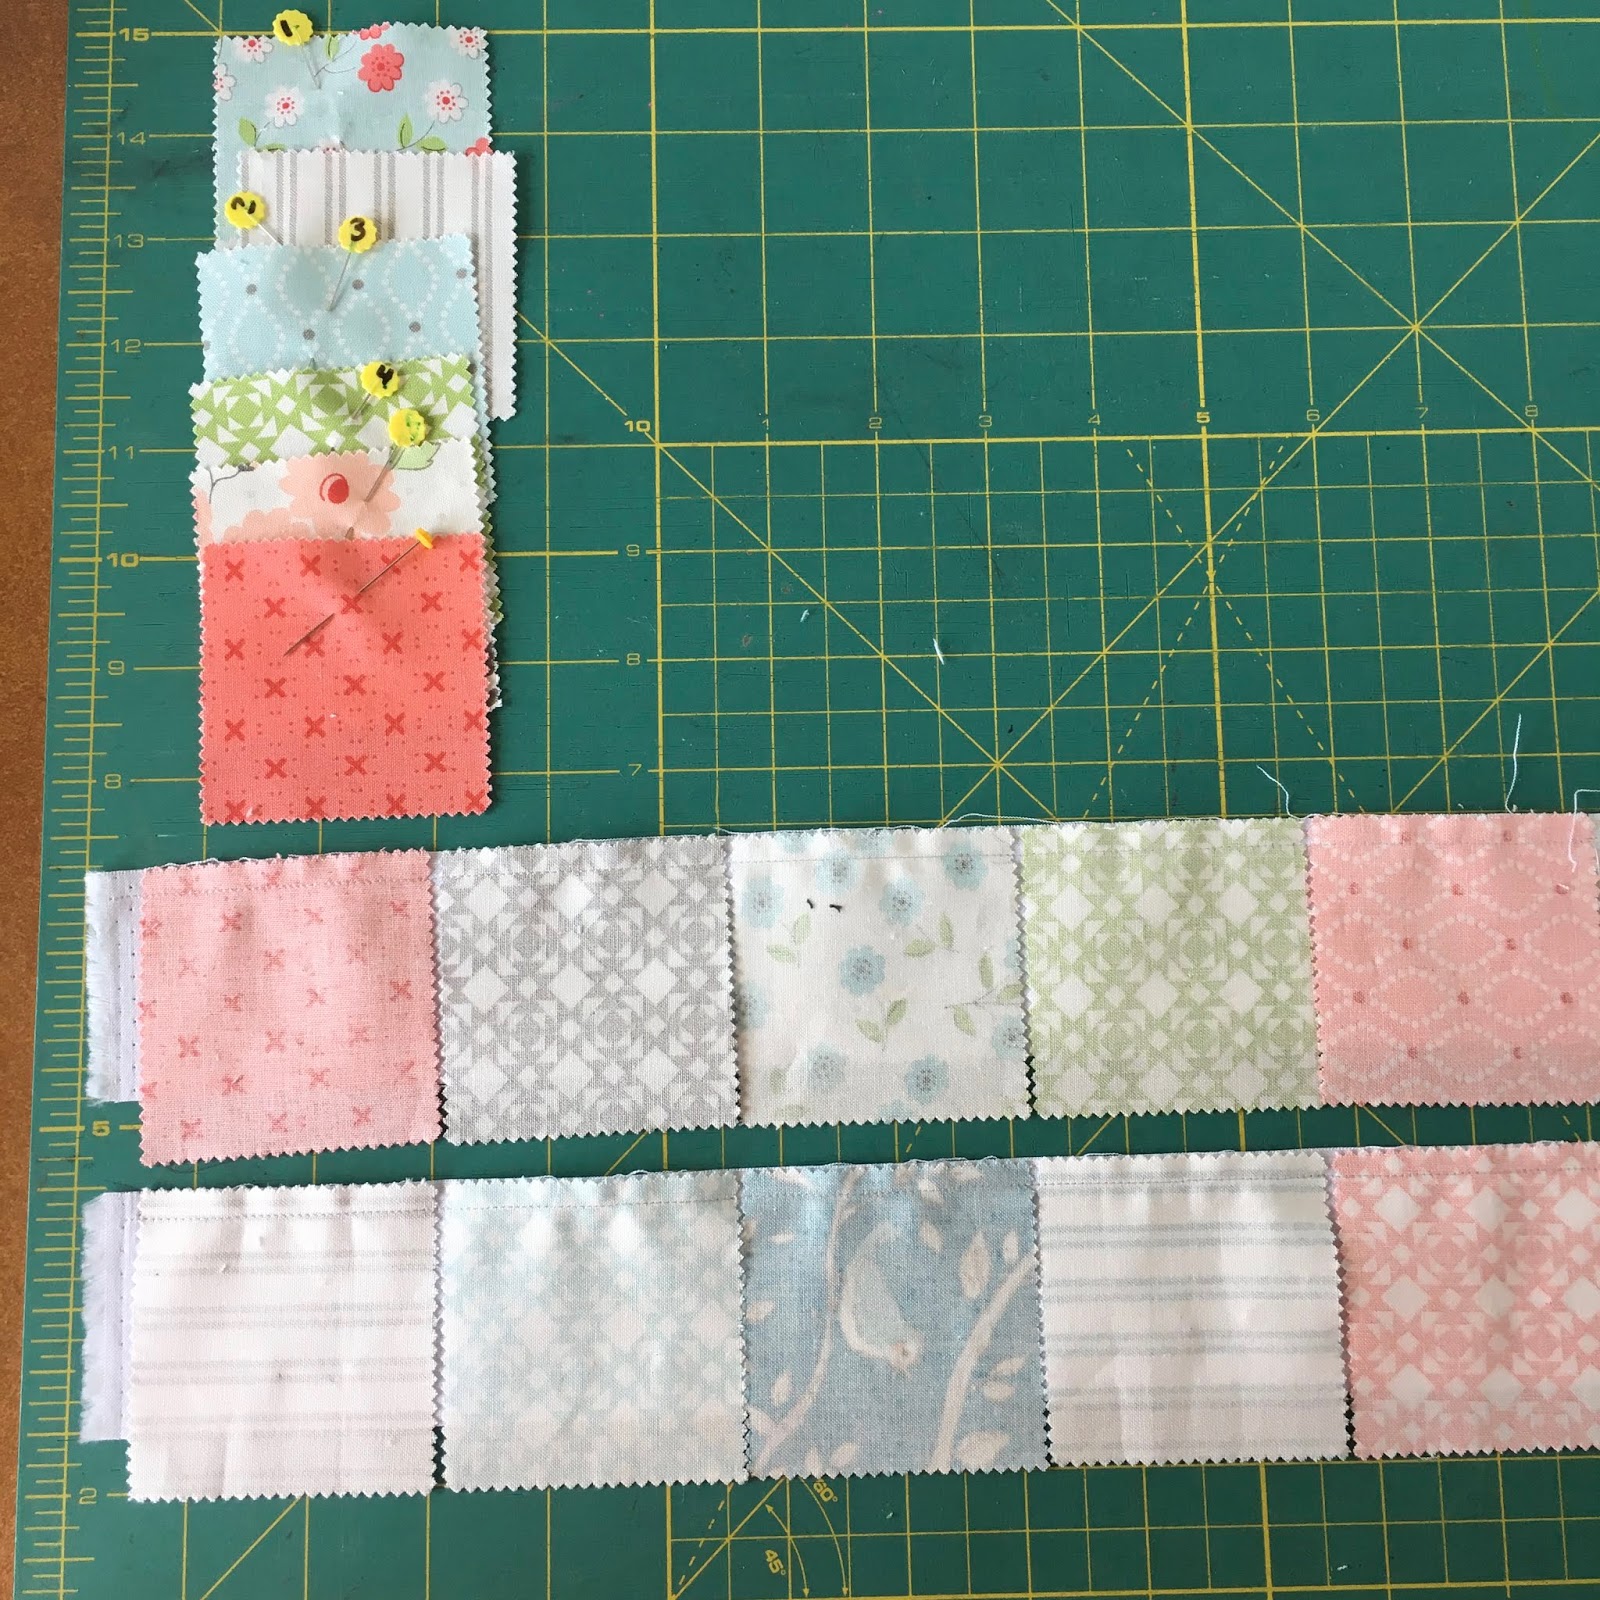
Select and layout (36) MCs in a 6 x 6 layout. TIP: Take a quick picture of layout then you don't have to worry if MCs get mixed up.

Step 2:
RST (right sides together) stitch the first (5) MCs of each row to (2) of the 2" x WOF strips of background fabric. This will create the vertical sashing. Note: The last MC in each row does not have a vertical sashing piece. TIP: I move my row stack marker to last MC to mark which MC not to stitch to 2" strip.


Step 3:
Trim off selvage ends and slice between each MC square. If necessary, trim/square background edges with MC.


Step 4:
Press MC-sash units open pressing seam toward MC.


Working left to right for each row and keeping the vertical sashing piece to the right, piece MC-sash unit to MC-sash unit for each row ending each row with a single MC square. Press seams open or to the dark side.


Step 6:
Piece horizontal sashing between each row of MC rows working from top to bottom. Press seams toward sashing. NOTE: When piecing pieced MC row-horizontal sashing unit to next pieced MC row, I make sure MC squares and vertical sashing are lined up, pin, and stitch.


Step 7:
Piece border to left and right side of quilt. Press toward border.
Step 8:
Piece border to top and bottom of quilt. Press toward border.

FINISH:
Step 1:
Layer and baste quilt using preferred method. With small quilts I have recently been spray basting: backing face down - spray; batting; and quilt top face up (after spraying back). Smooth between layers with hands.
Step 2:
Quilt.
Step 3:
Square up quilt.
Step 4:
Bind. With small quilts I prefer to cut my binding 2 1/4" wide. After joining my strips to get needed length, I press in half WST (wrong sides together) then attach to the front of the quilt and fold/press around to the back. From the front of the quilt I then stitch along the edge of the binding catching the back.
ENJOY!


What a sweet way to use charm squares. Thank you for sharing and linking up with the Tips and Tutorials Festival!
ReplyDeleteBellisimo, unos colores muy bonitos, te felicito!!!
ReplyDeleteSaludos.