
Finished size: 26" x 26"
Instagram:
#minicharmfunminiwreaths
#minicharmfun
#minicharmfunminiwreaths
#minicharmfun
FABRIC REQUIREMENTS:
1 mini charm (MC) pack or (37) 2.5" x 2.5"
Background - 5/8 yard
Batting - 28" x 28" piece minimum
Backing - 28" x 28" piece minimum
Binding - 1/4 yd
CUTTING INSTRUCTIONS:
Background:
Cut (8) strips 2.5" x WOF (width of fabric).
Subcut (1) strip into (4) 2.5" x 10.5" pieces
Subcut (1) strip into (9) 2.5" x 4.5"
Subcut (2) strips each into (4) 2.5" x 4.5" pieces and (1) 2.5" x 22.5" piece (border
piece)**
Subcut (2) strips into (1) 2.5" x 25.5" (border pieces)**
Required pieces from background:
(16) 2.5" x 4.5" - sashing
(4) 2.5" x 10.5" - sashing
(2) 2.5" x 22.5" - border**
(2) 2.5" x 25.5" - border**
Binding - Cut (3) strips 2.25" x WOF
**TIP: For accuracy's sake, wait and measure pieced body of quilt top before subcutting the pieces for borders. Everyone's seam allowance varies a tad and this can affect exact border lengths required.
PIECING INSTRUCTIONS:
All piecing done with RST (right sides together).
Step 1: Select (32) MCs for four patches (A units). Set aside (5) MCs for center squares.
Step 2: Stitch (16) MCs to each of (2) 2.5" x WOF background strip.


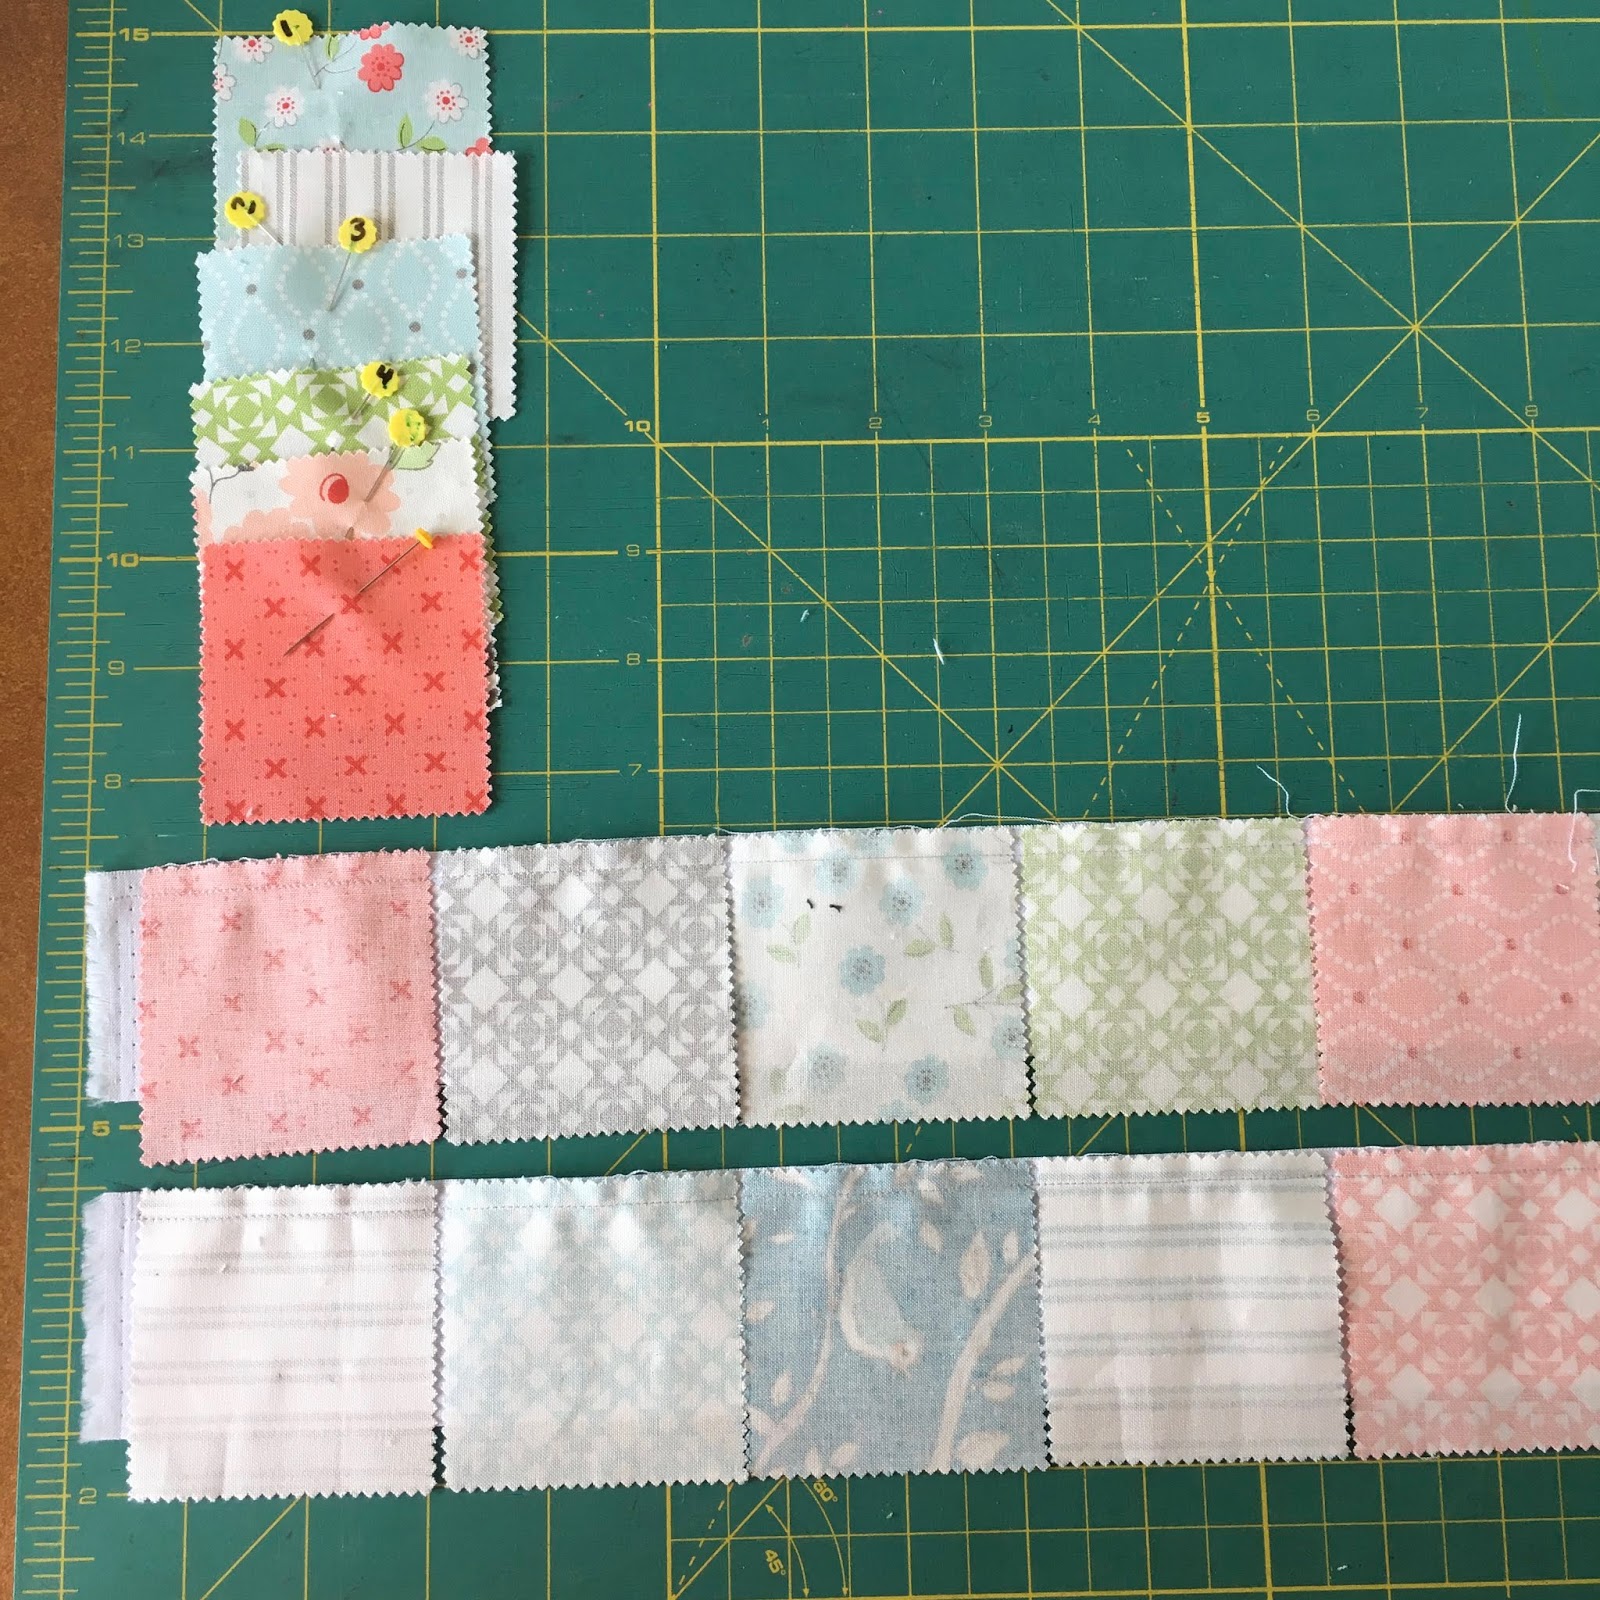


Step 4: Press A units open pressing seam toward MC.

Step 5: Combine (2) A units to create B unit. Press seam open. Make 16.


Step 6: Make (4) C Units as follows:
a. Combine (1) B unit, (1) 2.5" x 4.5" sashing piece, and (1) B unit. Repeat.
b. Combine (1) 2.5" x 4.5" sashing piece, (1) center square MC, and (1) 2.5" x 4.5"
sashing piece.
c. Combine B unit/sashing piece to Sashing/center square MC per diagram.
d. Press seams as indicated by arrows.


Step 7: Create quilt top as follows:
a. Combine (1) C unit, (1) 2.5" x 10.5" sashing piece, and (1) C unit. Repeat.
b. Combine (1) 2.5" x 10.5" sashing piece, (1) center square MC, and
(1) 2.5" x 10.5" sashing piece.
c. Combine C unit/sashing pieces to Sashing/center square MC per diagram.
d. Press seams as indicated by arrows.

Step 9: Piece border to top and bottom of quilt. Press seams toward border.


Sample quilt top featuring
Snowfall by Mince & Simpson for Moda
Step 1: Layer and baste quilt using preferred method.
Step 2: Quilt.
Step 3: Square up quilt.
Step 4: Bind. With small quilts I prefer to cut my binding 2.25" wide. After joining my strips to get needed length, I press in half WST (wrong sides together) then attach to the front of the quilt and fold/press around to the back. From the front of the quilt I then stitch along the edge of the binding catching the binding on the back.
You now have a cute wallhanging or table topper. ENJOY!
No comments:
Post a Comment
Comments from visitors: